")

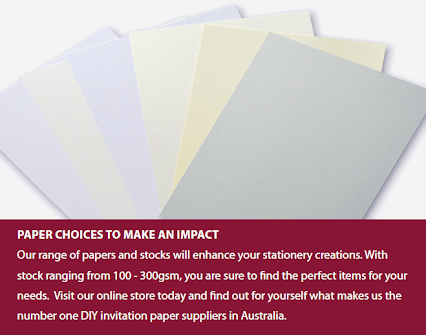
If you are creative, you’ve probably got a lot of great ideas swimming around in your noggin. But, if you are looking for some inspiration on what to do for your DIY invitations for your wedding, we’ve got this great technique for you to try. All you will need is some card or paper stock which you can easily get from our DIY Invitations online store, some white wax (non-water soluble) crayons, watercolour paint, wax (parchment) paper, a pencil something to trace your design with (such as a tracing pen or even a pin) and either a sponge or paintbrush.
Firstly, figure out a look that you want. Do you just want to go ahead with an illustration using this technique? Would you a focal feature in your DIY wedding invitation design? Do you want to pair it up with a pattern, or do you want to include this design as part of a trim (such as a layer for a layered DIY wedding invite). Once you have a general idea on what to do then you are ready for the next step, but in case you don’t, there’s no harm in doing up a few DIY wedding invitation samples for your family and close friends to vote on and decide.
Secondly, if you have decided that you want to do up an illustration, a focal design feature or even a pattern, then that’s great. Here’s what you will need to do before you start working your magic. You need to stencil out your illustration onto the likes of wax paper. This will allow you to easily transfer the illustration onto the required number of DIY wedding invitations covers. You do this by keeping your drafted illustration on the bottom and then tracing over it with a pencil. Then you take one of the invitations, and on the front you start tracing over it with a tracing pen or any other item that serves the purpose such as a pin or even a fountain pen (without the ink). The point is that it needs to leave an indentation on the card stock or paper stock so that the illustration is visible to a certain extent. The very same applies to a focal design. However, if you are opting to play with colour atop a pattern such as leaving certain areas of a pattern white or a coloured in section separated to the rest, then make sure you transfer the pattern in via stamps or print and then set about using the crayon resist technique.
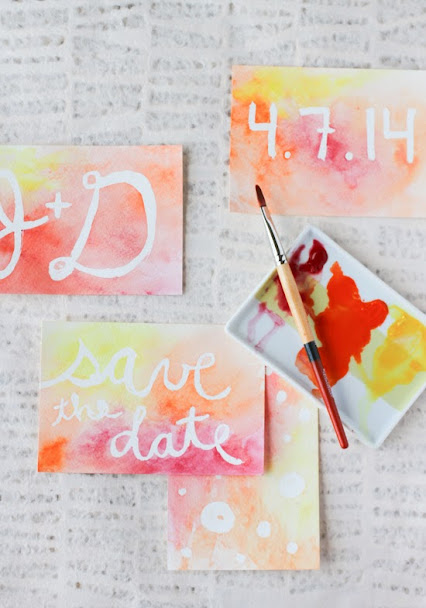
Once this is all ready, what you need to do is trace over the area that you do not want coloured in with watercolour, be it the illustration, design or the pattern. Afterwards you can use either the sponge or a brush, use some watercolour mixed with water and start blotting onto the paper as you see fit. You will notice that whichever area the crayon was applied to, the watercolour will not stick and will stand out. This is how you go about creating a truly unique and sensational DIY wedding invitation with just a few simple materials.
Stay tuned for more unique DIY wedding invitations ideas here on our blog.